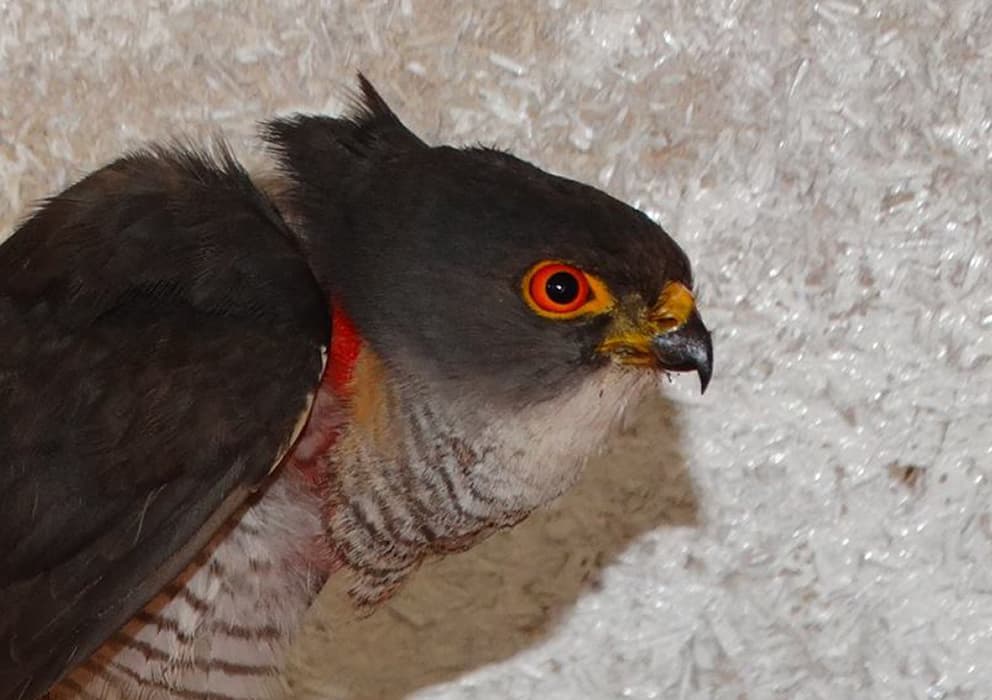
I have never seen a Little Sparrowhawk, but I knew of them and wanted to paint them, especially when I found what I thought was a photo of a Little Sparrowhawk on and old Facebook page – the Naivasha Owl Centre, run by my Friends, Shiv Kapila and Simon Thompsett . My buddies now operate the Kenya Bird of Prey Trust, and actually saved the day halfway through the painting by showing me images of a recent rescue, which was the right species
Step 1: Wrong Reference!


